So we have the situation where we have multiple network interfaces, possibly including wireless, and we want to set priority, so if one is connected, that one will be used. Here’s a good working procedure, all in Powershell.
- Get list of interfaces with the Windows index number for each:
Get-NetIPInterface | ft ifINdex,InterfaceAlias,AddressFamily
Now we have a list of interfaces and names. Each interface device may have two listings, one for IPv6 and one for IPv4. What we want is the index numbers for the two. On one machine, “Ethernet” was index 12, and “Wifi” was 18, but there will be wide variation.
- Priority is higher, for lower numbers. So if we want to set high priority for wired Ethernet when it’s present, we could set priority 10:
Set-NetIPInterface -InterfaceIndex "12" -InterfaceMetric "10"
- and to make it stick and work predictably, we set Wifi to priority 100:
Set-NetIPInterface -InterfaceIndex "18" -InterfaceMetric "100"
Categories:
Networking Analysis, Ports, & Protocols
Windows OS-Level Issues

Recently a number of things have come to light together, the combination of which is remarkable.
- The System Volume Information folder, on very many slow Windows machines, has a lot of junk files within, files that serve no purpose. These are called “orphan shadows”.
- Orphan shadows occur when the RAID or other drive capability of a Windows machine, cannot keep up with demands on the Volume Shadow Services (VSS) subsystem of Windows, and/or has to abandon an effort in midstream. VSS is used by a huge variety of Windows and application operations.
- The best-understood examples of events causing orphan shadows, are hard poweroffs in the middle of many different operations large and small. Another is when block-level backups fail.
- Other examples are simultaneous heavy demands which are too high for the RAID or drive capability. For instance, if demands on RAID are already fairly high, a large database request happening at the same moment as the incremental for a backup will cause one or both to fail, and will create orphan shadow(s) for one or both.
- As orphan shadows build up, they take more and more space in System Volume Information, and when SVI has more than 20 gigabytes or so of these things, all VSS operations get slower and slower, presumably because the VSS system has to choose to bypass all of the orphans over and over again.
- SVI has been seen to rise to hundreds of gigabytes, sometimes taking hours to clear.
The short-term step, to get things working, is to clear SVI. On a client OS, this is done thus:
vssadmin delete shadows /all
On a server OS, we do the above, and then we also run diskshadow, and within that little environment, we do:
delete shadows all
Alternatively, we can replace all of the above steps with:
wmic shadowcopy delete /nointeractive
One situation has been seen thus far, where the above two do not do the job, where SVI remains huge. No standard solution has been identified for this as of yet. Up until now, the symptoms have been clear and obvious, but causality a lot more mysterious, and we have often alleviated the situation via removal of OEMware, BIOS, firmware, and driver updates, and use of tweaking tools. On a server, one can remove Windows Defender:
Uninstall-WindowsFeature Windows-Defender
and this helps a lot (solved one big problem so far) on server, but not on a client OS, Microsoft doesn’t allow it. Also, methods to disable bits of Windows Defender on client OS have been disallowed increasingly, as build upgrades have been given.
One step which has helped is to CHKDSK /F the volumes and reboot, and then try the standard cleanout steps again.
Just today, some VSS tweaks have manifest:
https://docs.microsoft.com/en-us/windows/win32/backup/registry-keys-for-backup-and-restore?redirectedfrom=MSDN#maxshadowcopies
specifically this:
HKEY_LOCAL_MACHINE\System\CurrentControlSet\Services\VSS\Settings
DWORD MaxShadowCopies
and this:
HKEY_LOCAL_MACHINE\System\CurrentControlSet\Services\VolSnap
DWORD MinDiffAreaFileSize
but it will be a while of testing before any confidence is available as to how to use these to help. Thus far, MaxShadowCopies of 8 and MinDiffAreaFileSize of 128 seems to be helping.
Categories:
Performance
Categories:
Hardware
Tools
Just grab the latest code here:
https://github.com/PKISharp/win-acme/releases/latest
unpack it into a folder you will keep (I used “E:\Let’s Encrypt”), and run letsencrypt.exe in the folder. The multi-site (SAN) mode works only if IIS is set up in certain ways; but the manual mode for a single site is simple and easy, and it sets up a scheduled task in Windows for the needed automatic updates.
Also recently discovered this, have not tested yet but it can come by Chocolatey, which means automatic updates are easy:
https://certifytheweb.com/
Categories:
Web Servers
Certificates
A number of friends and I have tried several DISM variations using non-Windows-Update (non-default) sources. Here are known successes. /LimitAccess means don’t use Windows Update.
The first one presumes that a different machine running the same OS is available on the network with C$ being the C: drive share. Reportedly, that share can be simply all of the files from a non-running install.
DISM /online /cleanup-image /restorehealth /source:\\ANOTHER_SERVER\C$\Windows /LimitAccess
The second one uses an OS install ISO; right-click it and choose Mount. G: represents the drive letter given:
DISM /Online /Cleanup-Image /RestoreHealth /Source:wim:G:\Sources\Install.wim:2 /limitaccess
Many ISOs have more than one image within the .WIM file. To get the list of images (and numbers to put after the colon), run this:
DISM /Get-WIMinfo /wimfile:G:\sources\install.wim
You’ll notice, in the /Source:wim line above, that #2 is present, not #1. This is because, in a very common image recently used, it is image #2 which has most of the components, not #1.
After a DISM /RestoreHealth is successful, it appears to be best to run SFC /SCANNOW. To some extent, DISM appears to get the good stuff in, and SFC appears to put it where it needs to go.
Categories:
Windows OS-Level Issues
From the excellent Brigg Bush. Do all of these in Powershell:
New-Item 'HKLM:\SYSTEM\CurrentControlSet\Control\SecurityProviders\SCHANNEL\Protocols\TLS 1.2\Server' -Force
New-Item 'HKLM:\SYSTEM\CurrentControlSet\Control\SecurityProviders\SCHANNEL\Protocols\TLS 1.2\Client' -Force
New-ItemProperty -Path 'HKLM:\SYSTEM\CurrentControlSet\Control\SecurityProviders\SCHANNEL\Protocols\TLS 1.2\Server' -name 'Enabled' -value '1' –PropertyType 'DWORD'
New-ItemProperty -Path 'HKLM:\SYSTEM\CurrentControlSet\Control\SecurityProviders\SCHANNEL\Protocols\TLS 1.2\Server' -name 'DisabledByDefault' -value '0' –PropertyType 'DWORD'
New-ItemProperty -Path 'HKLM:\SYSTEM\CurrentControlSet\Control\SecurityProviders\SCHANNEL\Protocols\TLS 1.2\Client' -name 'Enabled' -value '1' –PropertyType 'DWORD'
New-ItemProperty -Path 'HKLM:\SYSTEM\CurrentControlSet\Control\SecurityProviders\SCHANNEL\Protocols\TLS 1.2\Client' -name 'DisabledByDefault' -value '0' –PropertyType 'DWORD'
Categories:
Windows OS-Level Issues
Certificates
Short version. Bought one from Amazon, it was proven junk. There is a common scam where firmware is changed so that a small device reports itself as a large device to the OS. Works until you push it. Bought another from AliExpress. This one works very well, after replacing the cable, which was necessary. Here’s where I bought mine from.
www.aliexpress.com/item/3256803381001612.html
Currently only up to 4T are available from the above source. However, a search shows many more sources, now rising to 60T. By U.S. general retail standards these are unbelievable, but it would appear that this is a very interesting case.
The recent Christmas was the second year in a row that I saw advertised 10+ terabytes in a large USB-stick-shaped device, about 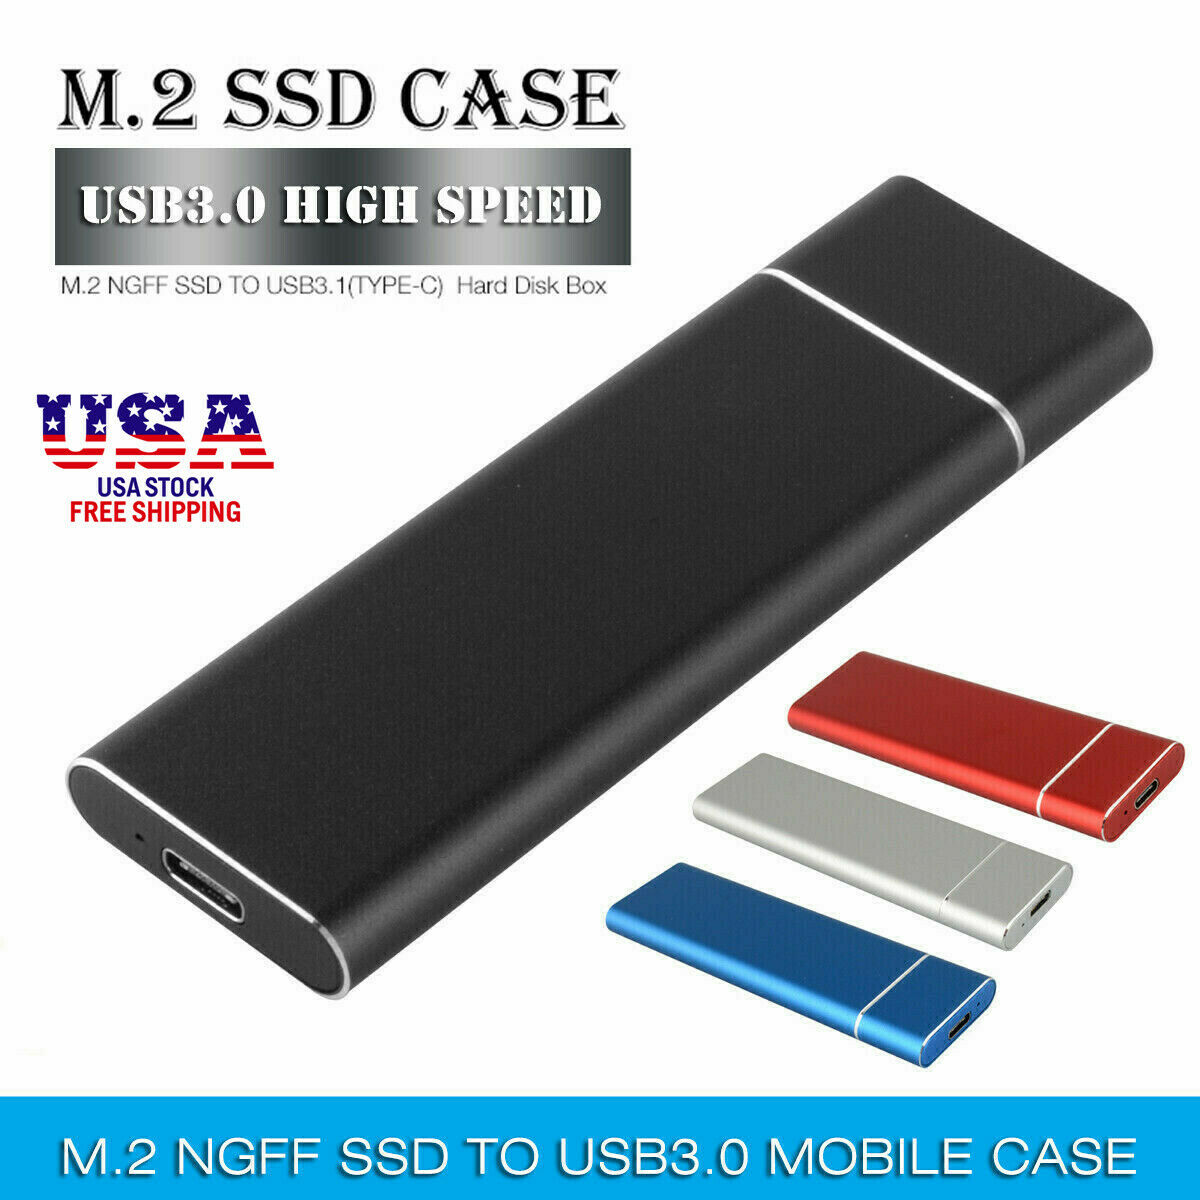 one inch by two-and-a-half. Last year I just thought it was too good to be true, but they did it again. I waited weeks, the ads disappeared as usual, but searches pulled a few, one on Amazon, a few on AliExpress, several on eBay. I haven’t received junk (yet) from AliExpress, so I ordered one, a 16-terabyte for $58 including tax and shipping. It said there was going to be a month lead time, early February was projected, a bit unusual but not very, given everything in the world right now. Looks like a nice, big USB stick, with a USB 3.1 port, and a short cable with that end and a USB A end on the other. Will be pounding on it a good bit.
And no I’m not selling them!!!
Categories:
Hardware
Categories:
Windows OS-Level Issues
Puran Defrag
article #1485, updated 1007 days ago
Categories:
Disks, Drives, and Filesystems
Performance
This command:
wmic product where name="Application Name" call uninstall /nointeractive
appears to do it. Put the whole long name from the software list in Control Panel, within those double parentheses. This works in at least some cases where msiexec /x does not. And it is not version-specific.
To get a full list of names with GUIDs, try this:
get-wmiobject Win32_Product | sort-object -property Name | Format-Table IdentifyingNumber, Name, LocalPackage -AutoSize
Categories:
Windows Installer, Updates, Patching
Windows OS-Level Issues